Video Podcast Sync: Timecode Boxes vs. an ISO Switcher
Introduction to Multicam Synchronization
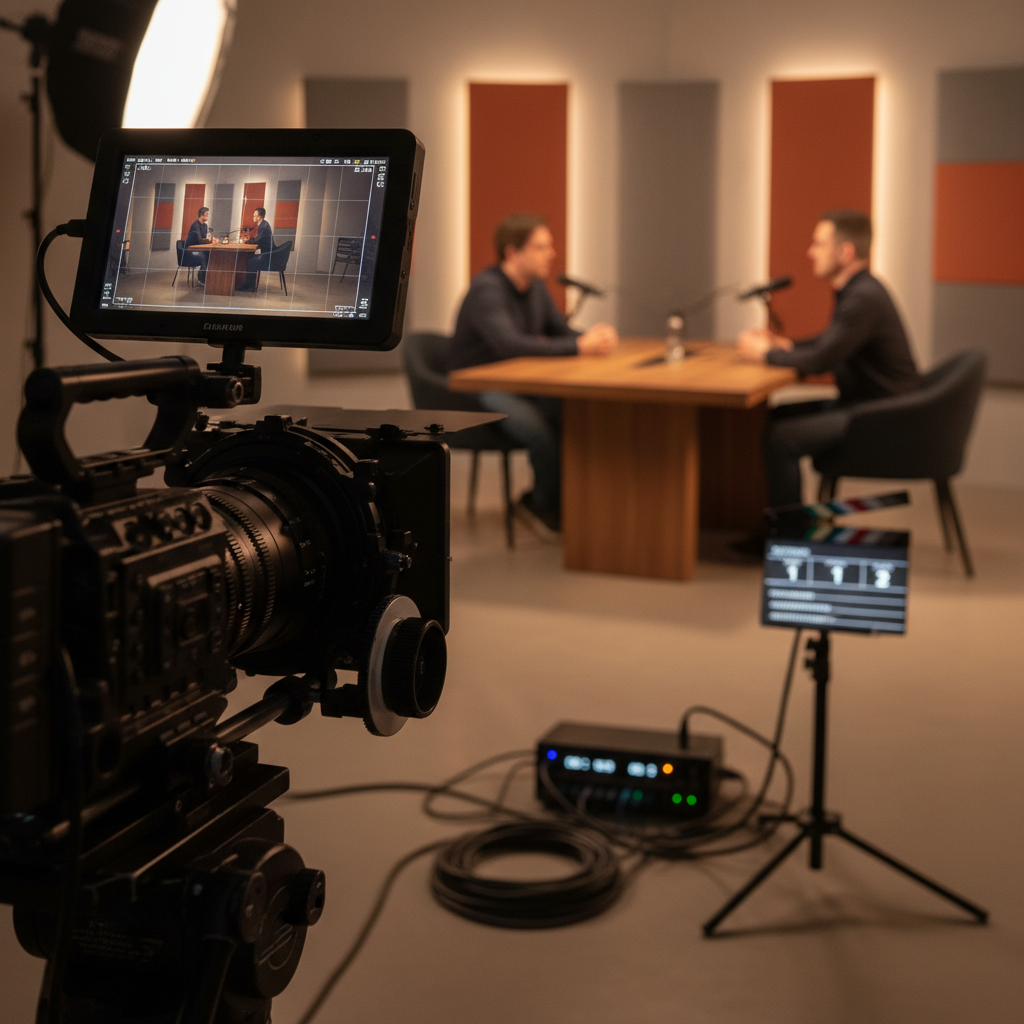
Producing a professional video podcast requires capturing multiple angles to keep viewers engaged. However, multi-camera setups introduce a major technical hurdle: keeping your audio and video perfectly aligned across separate files. When setting up a multi-camera workflow, producers generally weigh two primary hardware approaches against traditional manual methods: dedicated timecode boxes, hardware ISO switchers, and low-cost fallback options like a visual clap and scratch audio. Understanding how each method handles multicam podcast synchronization can save you hours of grueling post-production alignment.
Timecode Boxes: Maximum Flexibility for Separately Recorded Cameras
Timecode generators—such as units from Ambient, Deity, or compact systems like the RØDE Wireless PRO—attach directly to your cameras and audio recorders, stamping every frame and audio sample with an identical Linear Timecode (LTC) reference.
* The Workflow: Each camera records independently to its own internal media card at its native, highest-quality codec and resolution. The timecode box feeds an identical clock signal into each device either via a dedicated timecode port or by recording LTC onto an audio channel. * The Pros: You retain full camera-original files without compression. If a camera fails or needs a battery swap, the overarching timeline remains consistent. Post-production software like DaVinci Resolve or Adobe Premiere Pro can auto-sync the disparate files instantly based on metadata. * The Cons: Requires initial configuration, compatible cabling, and managing separate batteries for each sync box.
ISO Switchers: Live Switching and Streamlined Ingestion
Hardware ISO switchers (such as Blackmagic Design's ATEM Mini ISO series) take a fundamentally different approach by ingesting multiple HDMI camera feeds directly into a single unit [3].
* The Workflow: The switcher records a live-switched program cut while simultaneously recording individual isolated (ISO) video streams of each camera input onto an external USB drive. * The Pros: Setup is fast. You get an immediate live cut of your show alongside the individual clean angles, dramatically speeding up turnaround times for quick-turn publishing. * The Cons: You are typically locked into the resolution, framerate, and compression constraints dictated by the switcher's processing engine. If the switcher drops a frame or encounters a write error on the drive, all isolated feeds are impacted simultaneously.
The Low-Cost Fallback: Claps and Scratch Audio
For creators on a strict budget, the traditional production method relies on a sharp visual clap in front of all cameras combined with a clear transient audio spike on the scratch mic. While modern editing software features robust automated waveform audio syncing, this method breaks down during long-form recordings due to clock drift, where internal camera clocks slowly drift out of sync over a 60-to-90-minute interview.
Crucial Technical Distinctions: Timecode vs. Genlock
A common point of confusion for emerging producers is assuming that a timecode label equals absolute hardware synchronization. Timecode is simply a metadata timestamp marking the start frame and progression of a clip; it is not genlock or audio word clock. Timecode ensures your clips line up instantly on a timeline, but it does not force camera sensors to scan in absolute electronic lockstep. For standard podcast interviews, timecode metadata is more than sufficient, but true genlock is reserved for high-end broadcast or virtual production environments where frame-accurate phase alignment is mandatory.
Best Practices for Testing and Verifying Sync
Regardless of whether you choose an ISO switcher or standalone timecode boxes, never trust your sync blindly. Follow this verification blueprint before every recording session:
Record Your Next Episode in Oakland
Mastering multi-camera technical workflows takes time, capital, and continuous troubleshooting. If you want to bypass technical headaches and focus entirely on content creation, record your show at Oakland Podcast Studio. Located at 2020 Dennison St Suite 10, Oakland, CA 94606, our professional studio features multi-camera 4K video setups, Shure SM7B microphones, Universal Audio interfaces, and experienced on-site engineers to handle the technical heavy lifting, including same-day file delivery. Ready to elevate your show? Book your session today at [oaklandpodcaststudio.com/book](https://oaklandpodcaststudio.com/book).
Ready to Record?
Your Show Deserves a Professional Studio
Engineer-supported audio-only recording at $99/hr, or one-camera 4K video from $175/hr. Soundproofed studios, a one-hour minimum, and same-day raw files.